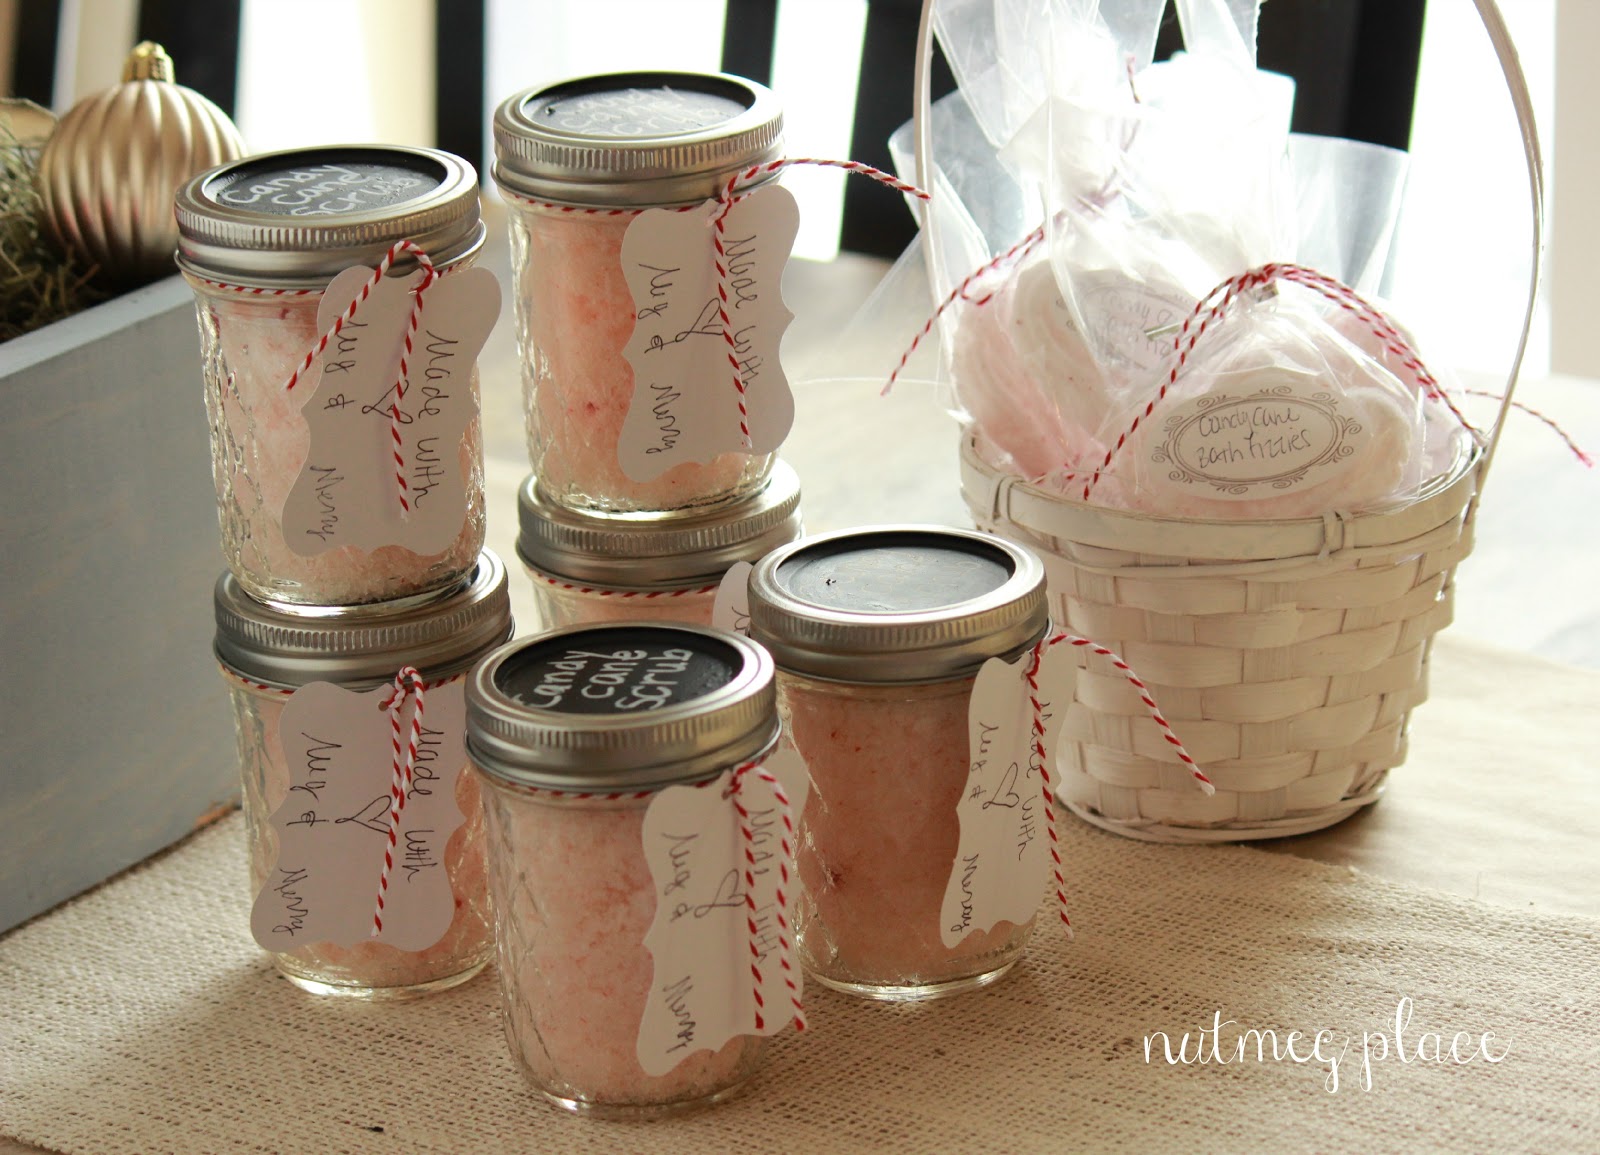
Thursday, December 27, 2012

2012 year in review! ~


Well hey there!

How was your Christmas??

Our was fantastic.  We are very blessed.

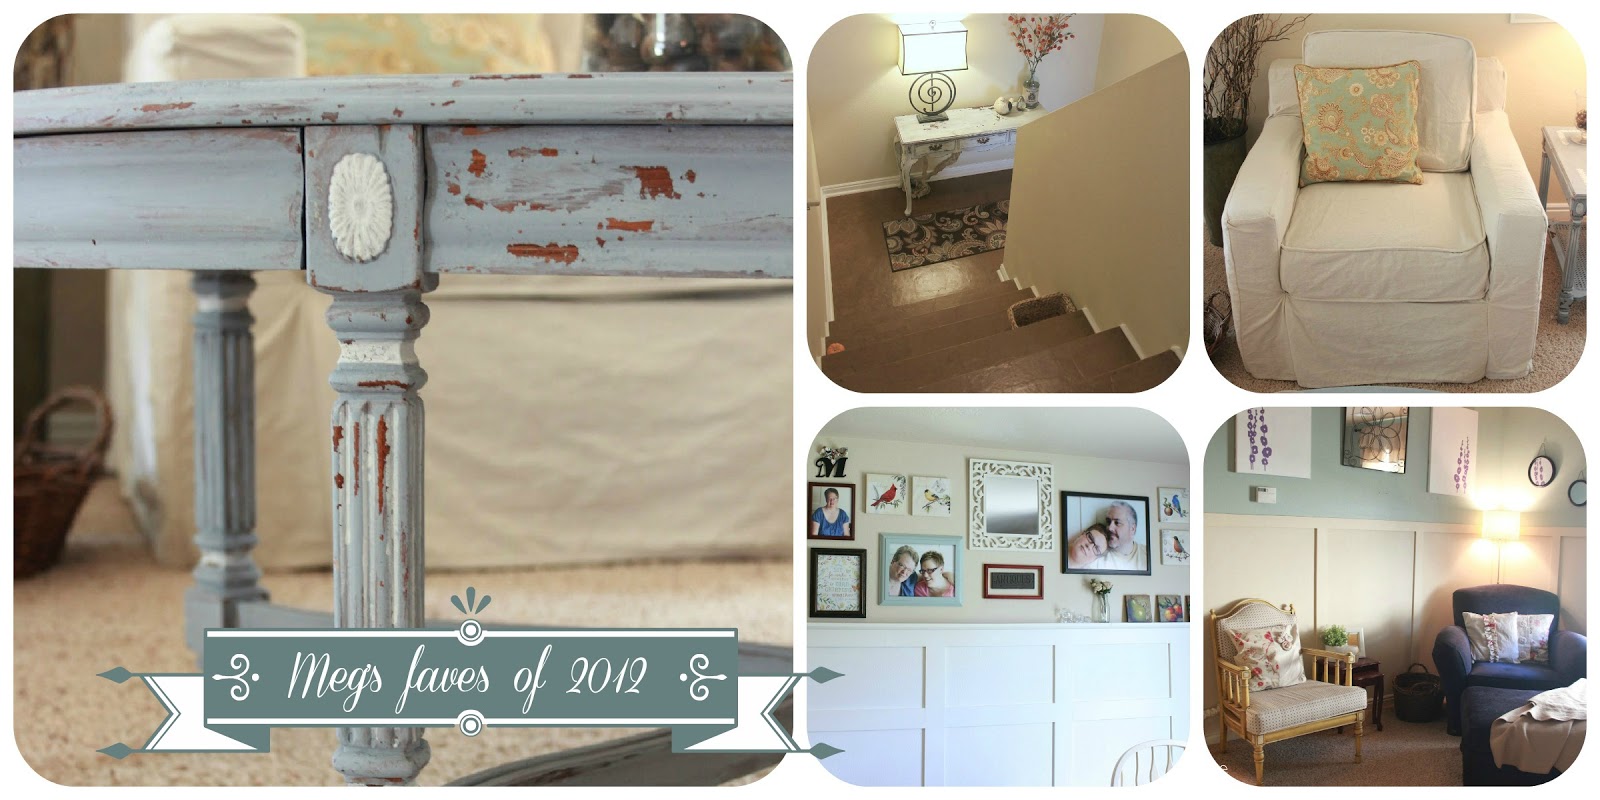
The year is winding down.  I thought I would re-share my most popular and my personal favorite projects of 2012!

#5:

The change of my kitchen color to Wythe blue.


This is still my very favorite paint color. 

#4:


This was knocked off the wall by my terrible window hanging job, and is now in 2 separate pieces. 


#3:

My Beadboard wallpaper backsplash:


This still looks brand spankin' new.  I LOVE this stuff!!

#2:

My Ballard corkboard knock off:


I made these for $11 each, and Ballard charges $89.  Helloooooooo. 

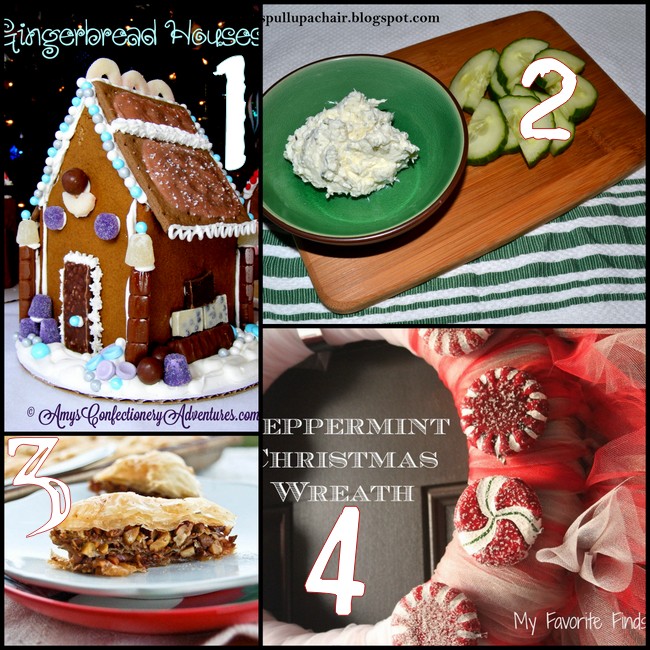
And... my #1 post of 2012...


I'm actually quite surprised by this one.  
And to be honest, these are no longer hanging.  I couldn't come up with a secure way to keep them up. 


It's ok. 

I'm going to completely change the whole room in the new year, and the window treatments are going to be epic.  EPIC I TELL YOU!!


Now, can I show you MY favorites?  Sooooooo hard to chose!!
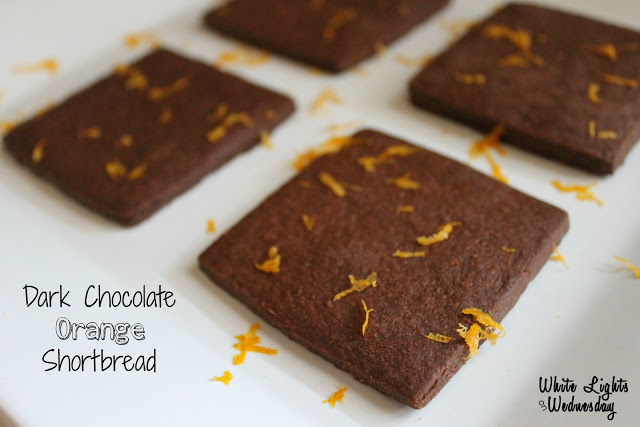

#5:


My first attempt at using milk paint.  LURVE.  I intended on selling these, but couldn't. 
I'm sure you understand. 


#4:


One of the best projects I've done. I'm not gonna lie, these weren't easy. 
But, I'm so proud of them every single time I walk past and think: "Yep, you did that!"


#3:

My Board & Batten dining room wall:


This was my first time using a nail gun, and I was scared.
It turned out so pretty, and I love it so much. 


#2:

The Loft:


This went from an empty, dark space... to a happy & warm space.  On a pretty tight budget too!


And my very most favorite project of 2012:


I'm sure you guys guessed, right?!?!  It was the most difficult project with the biggest payoff. 
Still lots of things I want to add to the space.  But, I'm so thrilled with how this turned out!


As the year winds down, I'd like to remind you all how much I appreciate each & every one of you!
I have made some of the most incredible friendships just because of this little blog.

I hope 2013 is a year filled with blessings & love, for all of us!

XOXO

Monday, December 24, 2012

Visions of Sugar Plums dance in our heads ~


Happy Christmas Eve babies!

It's snowing, the finches are happily eating in the backyard, we're all tucked in snug as a bug...


We've got a crock pot of chicken & dumplings cooking and warm caramel apple cider to sip on.

We are ready for Santa. 


My neighbor, Mandy, brought us a plate of goodies last weekend.
On the plate were these delectable little truffles. 
 I texted her that we had already gobbled them all.   
She texted me back with the recipe.  
Couldn't help but not make some.   


Oreo Truffles:

  • 8 oz package of room temp cream cheese
  • 1 pack of Oreo cookies, crushed
  • Almond bark for dipping
  • Crushed candy cane & Oreo for garnish

Mix the room temp cream cheese with the finely crushed cookies in a mixer.  Once blended, scoop out onto wax paper lined sheets.  Place in fridge for 15-30 mins to let harden.  While hardening, melt almond bark in a double boiler or in the microwave.  Once solid, quickly dip the truffles in the chocolate and place on more wax paper.  Garnish with goodies while chocolate is still warm.  Allow to cool, and gobble them up!


I made one batch peppermint and one cookies & creme.       


I finally got the chance to use my baguette board. 


Easiest truffle, ever.  And beyond tasty. 

All of us here at Nutmeg Place, wish you the Merriest of Christmases. 


Tonight, we will open our new Christmas jammies, pop popcorn and watch a movie. 


We will snuggle into  our warm, cozy beds and hope Santa comes to fill our stockings.


We hope you will all be with the ones you love, safe & warm, making memories to last a lifetime. 

We send special prayers to all those struggling at this time of year.  

And lastly, we pray for all homeless animals to be safe & warm in their own homes.

Love you all. 


XOXO
 

Saturday, December 22, 2012

And now, here's something we know you'll really like ~

Hey there babies!

Only 2 more sleeps until Christmas!

I decided I wasn't going to let this flu bug get the best of me.

I got up, and baked.  Because, baking is my zen place.  Makes me calm and serene.

I pinned this recipe ages ago, and it looked VERY easy. 

I've always loved coconut macaroons, but I've never made them before.

I don't know why.

They were beyond easy and beyond delicious.


I got the recipe from Taste of Home:


  • 1-1/3 cups flaked coconut
  • 1/3 cup sugar
  • 2 tablespoons all-purpose flour
  • 1/8 teaspoon salt
  • 2 egg whites
  • 1/2 teaspoon vanilla extract
In a small bowl, combine the coconut, sugar, flour and salt. Stir in egg whites and vanilla; mix well.  

Drop by rounded teaspoonfuls onto greased baking sheets. Bake at 325° for 18-20 minutes or until golden brown.

I doubled the recipe and got 2 dozen. 

I was going to dip them in chocolate and almonds, but once Drew tasted one he wouldn't let me change them.  haha

  
They are chewy, sweet and incredibly delicious. 

I still can't get over how easy they were to make. 

  
Tis the season to indulge. 


Happy Christmas babies!

XOXO 

And finally... a medallion ~

Hey babies!

Only 3 more sleeps until Christmas! 

Are you ready?!?!

Are you excited?!?!

I'm excited. 

I'm excited because...

I bought this ceiling medallion about... a meeellion 2 or 3 years ago.  We've never put it up.  Because...

Because it's a pain in the butt.  That's why.

I decided, that it would make me feel 100% better if we got it installed today.

My sweet hubby took time out of his busy day  vacation, to help me with this. 

I love him.

The dinging room fixture looked like this:


Not fancy.  I actually very much like how casual it is. 

We carefully took it down {gave it a good cleaning since it was down.  Whew!  It needed it!!} and hung up our new/old medallion using my favorite thing... liquid nails.  We taped it up with painters tape... and rehung the mammoth fixture.

This time, Drew was so smart.  He put a chair with a styrofoam cooler on it on the table, to rest the fixture on while we re-wired and hung it.  Cause it's heavy.  And we have no upper body strength. 

Worked like a charm.

I took this photo {because Drew says I NEVER take mid-project pictures} to show how we used painters tape until the liquid nails dried.


Obviously, we're experts. 

And while it didn't make my flu 100% better, this little effort made me beyond happy. 


I've had this tucked away in a closet for years.  SO happy to have it installed!
I also love the casual design on the medallion.  
Because, we are casual, unstuffy folks here.   


{Insert BIG smiley happy face HERE}


So looking forward to Christmas and The New Year.  

I've got lots of plans running around my brain to work on next year. 

Master bedroom redo. 
Master bath upgrade.
Merry's bath upgrade.
Laundry room upgrade. 

FUN!! Lots of building and I'M EXCITED ABOUT IT!


See you soon!!

XOXO


Virtual Christmas Party ~

I'm so excited to be joining Amy from Amy's cooking adventures for a virtual Christmas Party!

Thanks, Amy for inviting me and for this lovely party!


Ho Ho Ho, Merry Christmas!

It’s that time of year when Christmas parties abound, and you are all invited to ours! 

So sit back, relax, and peruse.  We’ve got a bit of everything to share with you today, just click the links below the pictures to meet all of our wonderful participants and their contributions.


4.    Carrie from My Fave Finds: Peppermint Christmas Wreath  


8.    Jessica from The Thriftiness Miss: Snickerdoodle Dip 


10.  & 11. Pamela from Pamela’s Heavenly Treats:  Candy Cane Peppermint Cupcakes & Red Velvet Cupcakes


Hope you all have a yummy, wonderful Christmas!!

XOXO

Friday, December 21, 2012

Secret bloggy Santa ~

Happy Christmas babies!!

I woke up with the gamboo that I've been trying SO hard to avoid.  Drat!

Anyway...

Some bloggy friends got together to do a Secret Santa gift exchange.

It was so fun and exciting!

I think, that I won the Secret Santa lottery this year. 

My Secret Santa was Ann Drake From On Sutton Place!


Her blog and Etsy shop are stunning. 

Her gift, is stunning:


I mean, wow!  How stunning eh??

I've got to figure out a way to display the towel.  It's far too pretty to be used, but too pretty to be put away.  Ideas?

Thank you Ann!! XOXO

And thanks to Julie @ Redhead Can Decorate for coordinating the whole thing!

So lovely...


Tuesday, December 18, 2012

All Star Block Party #29 ~

Well, hey and Merry Christmas babies!

Are you all ready for the big day?

I've got just a few last minute gifts to get/make.

Quick FYI: My cohorts and I will be taking next week off due to Christmas.  We will pick back up Jan 2nd.


Our guest host this week is Lisa from Create Inspire Me


Let's move onto this weeks amazing features:


Anne @ White Lace Cottage shared her Christmas house tour. Go take a peek. So lovely.


Julie at shared this delicious recipe for Dark Chocolate Orange Shortbread.  SO YUMMY!!


Katie at Fun Home Things shared this darling Santa Suit gift wrap.  SO darn cute!!

If you were featured, grab a button:


Don't for get to visit my partners:

Shasta @ In The Old Road
Heather @ New House, New Home

I would like to take just a minute to wish you all a VERY Merry Christmas filled with joyful memories with your families and friends! 

We'll see you in a couple weeks!

XO

 Loading InLinkz ...

Saturday, December 15, 2012

Candy Cane Lane ~

*******WARNING*******
GIFT SPOILER ALERT

Family & friends, please avert your eyes. 


Today, as I said, has been a snow day here in Utah. 
Merry and I spent the early afternoon making gifts for our favorite ladies. 

I have to give the credit to Merry here.  
She came up with the idea and made the actual gifts.
I packaged and photographed them. 


Candy Cane Bath Fizzies
  • 2 cups baking soda
  • 1 cup citric acid
  • 4 tsp oil {use a light, fragrance free oil. I used grapeseed oil.}
  • 1 tsp essential oil of your choice {we used peppermint.}
  • Very small amount of food coloring {totally optional.}
  • Small misting bottle of water
  • molds
Wisk the soda and citric acid together well.  In a separate bowl mix the oils.  Wisk the oils into the dry mix well.  Then, mist a very small amount of water {one spray at a time} until the mixture forms well when you squeeze it in the palm of your hand.  Too much water, and it will be a giant foamy mess, so do this slowly.  We only needed 4 mists of water.  Then firmly pack into your molds.  The firmer you pack them, the better they hold shape.  Turn them out onto waxed paper and let air dry for 3-4 hours.  Then, package!


Merry did such a great job with these.  They look {and smell} just like crushed candy canes. 


Candy Cane Sugar Scrub:
  • 4 cups white sugar
  • 1 cup oil {grapeseed in our case}
  • 1 tsp peppermint essential oil
  • A very small amount of food coloring 
Mix everything in a bowl {I mix the oils together in a separate bowl, then add to the sugar.} then add a VERY small amount of food coloring, don't blend too much so the mixture looks like crushed candy cane.  Spoon into cute little canning jars and decorate.

I painted the lids with chalkboard paint and used a chalk pen to write the contents.  Tied a gift tag on with red & white string.  And that's all!!

Our kitchen {and hands} smells so lovely.   Christmas means peppermint and pine for me.


Made with love. 


We hope the ladies enjoy these as much as we enjoyed making them.

Nice job, Merry!


XOXO
Newer Posts Older Posts Home